Database
Activate managed PostgreSQL, give each environment its own branch, and browse, edit and query your data from the dashboard.
Every project can have one managed PostgreSQL database. It starts on the free plan, and each environment (production, staging, development) gets its own branch: a separate copy of the data with its own connection string, so testing never touches live rows.
Open your project and choose Database in the sidebar.
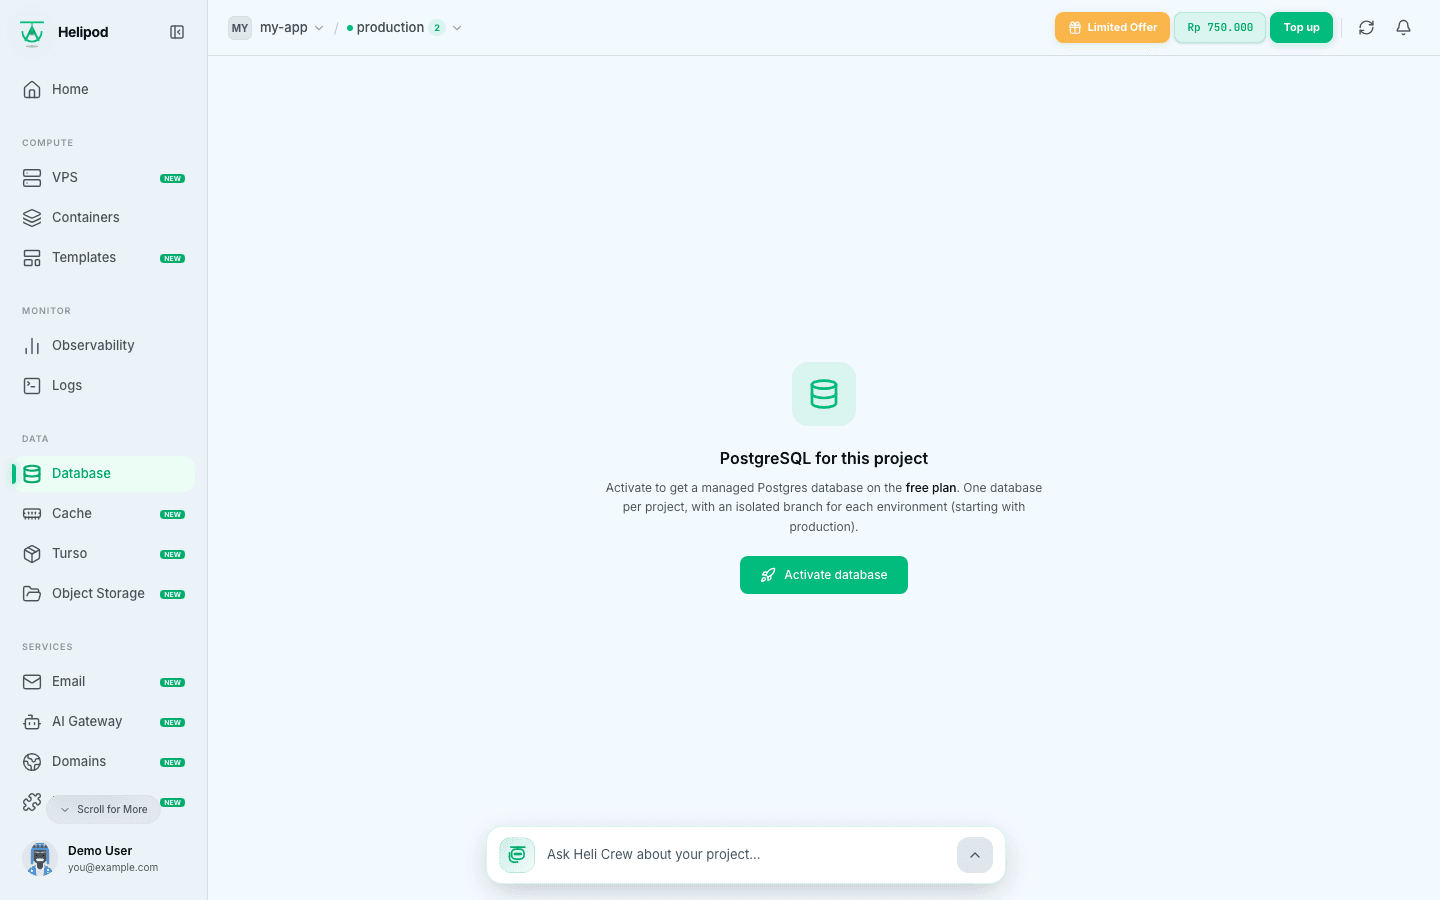
Activate the database
Activate
On PostgreSQL for this project, click Activate database. The database is created on the free plan, with a branch for the current environment.
Add a branch for another environment
Switch to another environment in the top bar. If it has no branch yet, the page says This environment has no branch yet (with the environment's name).
Under Copy from, pick the branch to start from. The primary branch (production) is selected by default. Click Create from .... The new branch copies the schema and rows as they are right now; after that the two branches change independently.
Connect
Click Connect in the left column. The Connection string dialog shows the string for the environment you are in. Click Reveal to see the password and Copy to copy it. The connection is pooled and requires SSL, so treat the password as a secret.
To delete a branch, use the delete button next to the database name and type the branch name to confirm. The branch and its data are removed, and you can create a fresh one later. The primary branch can't be deleted, because every other branch is created from it.
Browse and edit data
The left column lists the schemas and tables of the current branch, with a search box and a refresh button. Pick a table, then switch views at the top:
- DATA: the rows, with filters, sorting and column visibility. Edit cells, click Add record for a new row, or select rows to delete them.
- STRUCTURE: the columns, types, defaults and constraints of the table.
- METRICS: live stats for the branch.
- SQL: a query editor.
A table without a primary key can be browsed but not edited in DATA.
Every change is reviewed first
Edits are not written straight away. After changing cells, click Save changes (or Discard changes). A review dialog lists every SQL statement that will run, for example Save 2 statements?, and you confirm with Save. Deletes and drops show the dialog in red.
When there is more than one statement, they run one after another and are not transactional: if a later statement fails, the earlier ones stay applied.
Create a schema, table or view
Use the Create button in the left column and choose Create schema, Create table or Create view:
- Schema: a name such as
analytics. - Table: a name and a list of columns (name, type, default, NOT NULL, primary key).
- View: a name and a SELECT statement.
The SQL is shown in the same review dialog before it runs.
Run SQL
Open SQL, write a query in the Query editor and click Run. Results show as a table. On a new database with no tables yet, only METRICS and SQL are offered, so SQL is where your first CREATE TABLE goes.
Live stats
METRICS shows database size, connections, CPU cores and RAM used, with charts for CPU, RAM, connections and rows inserted, updated and deleted. Choose a range from 1h to 7d. Usage totals for compute, storage, history and network transfer are project-wide and cover every branch.
Plans and settings
The plan row above Connect shows your current plan.
- On the free plan, click Upgrade. Choose a plan, check the review (compute in CU-hours, storage, max burst, wallet before and after) and click Pay ... and upgrade. The price is charged to your wallet.
- On a paid plan, the row shows the remaining Compute and Storage credit. Click + Buy more to add compute credit. When the compute credit runs out, the database is suspended until you top up.
One CU is 1 vCPU and 4 GB RAM; a CU-hour is one CU running for one hour.
On a paid plan, the gear next to the database name (on the primary branch) opens Database settings, which apply to every branch:
| Setting | What it does |
|---|---|
| Minimum (floor) | The smallest compute the database scales down to. A high floor uses CU-hours even when idle. |
| Maximum (ceiling) | The most compute it may burst to, up to what your plan allows. |
| Suspend after idle | Seconds without activity before the database suspends (60 seconds to 7 days). A suspended database uses no compute and wakes on the next connection, with a short cold start. |
Click Save changes to apply.
Use it from a container
Copy the connection string from Connect and add it to your service as a variable named DATABASE_URL (in the service's Variables tab, marked secret). Use the string of the matching environment, so staging never writes to production. Then read it in your code:
import pg from "pg"

const pool = new pg.Pool({ connectionString: process.env.DATABASE_URL })

const { rows } = await pool.query("SELECT now() AS time")
console.log(rows[0].time)
The string already includes sslmode=require, so no extra SSL options are needed. Because connections go through a pooler, many short-lived connections are fine.