Deploy a Docker image
Run a ready-made container image from Docker Hub, GitHub, GitLab or any other registry.
If your app is already packaged as a container image, Helipod can run it without building anything. You pick the registry, enter the image name and the port it listens on, choose the resources, and deploy. This works for public images such as nginx:1.27 and for private images that need a login.
Open Add Service
In the dashboard, open your project and go to Containers. Click Add Service at the top right.
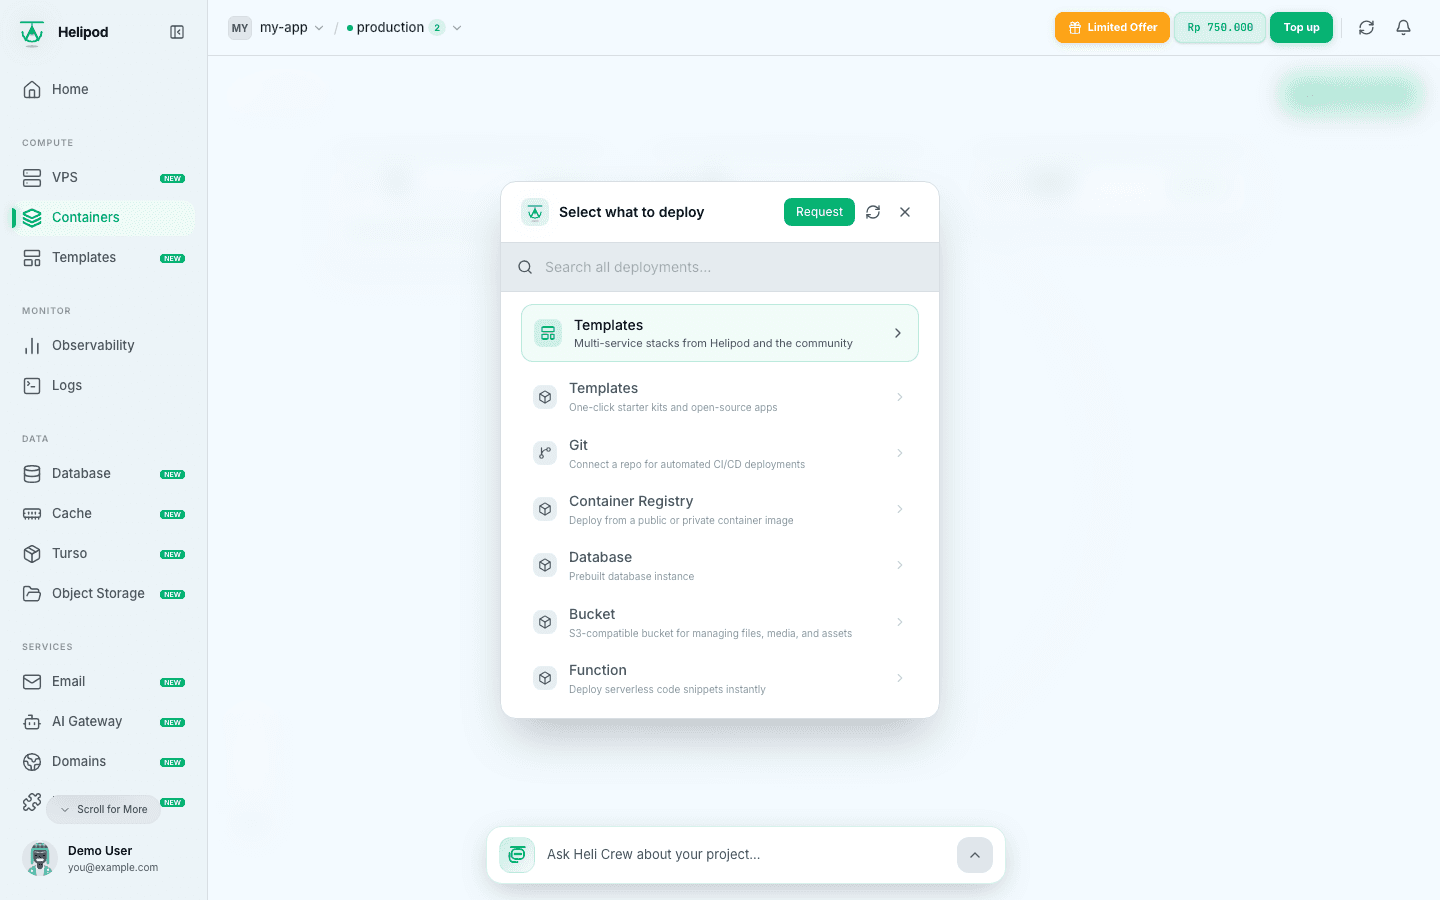
Choose the registry
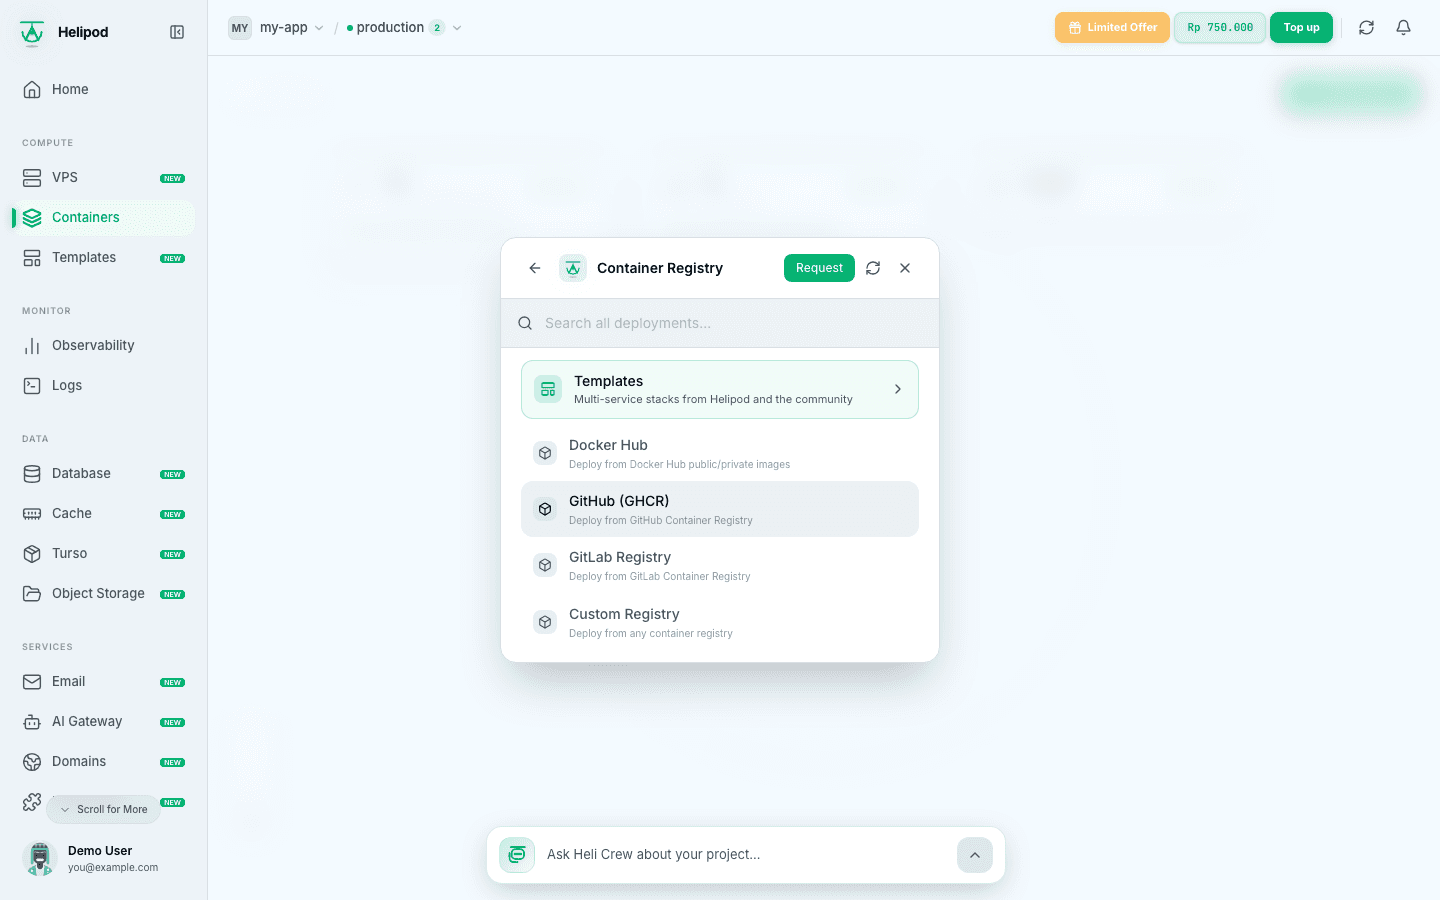
Click Container Registry, then the registry that holds your image:
| Option | Use it for | Image example |
|---|---|---|
| Docker Hub | Public or private images on Docker Hub | nginx:latest, myuser/myapp:v1 |
| GitHub Container Registry | Images on GHCR | ghcr.io/owner/repo:tag |
| GitLab Registry | Images in a GitLab project | registry.gitlab.com/owner/repo:tag |
| Custom Registry | Any other registry (Quay, a self-hosted registry, ...) | registry.example.com/app:tag |
Enter the image
Fill in the form:
- Image URL: the image and tag, for example
nginx:1.27. Pin a version tag rather thanlatest, so every deploy runs the same image. - Private image (requires authentication): tick it when the registry needs a login, then fill in:
- Username: your registry user name (for GHCR, your GitHub username; for GitLab, your GitLab username).
- The token or password: a Personal Access Token for GHCR (
ghp_...), an Access Token for GitLab (glpat-...), or the password or access token of your Docker Hub or custom registry account. Give it read access to the registry only.
- Exposed Port: the port your container listens on, for example
80for nginx or8080for many Java and Go images. If you leave it empty, Helipod uses80.
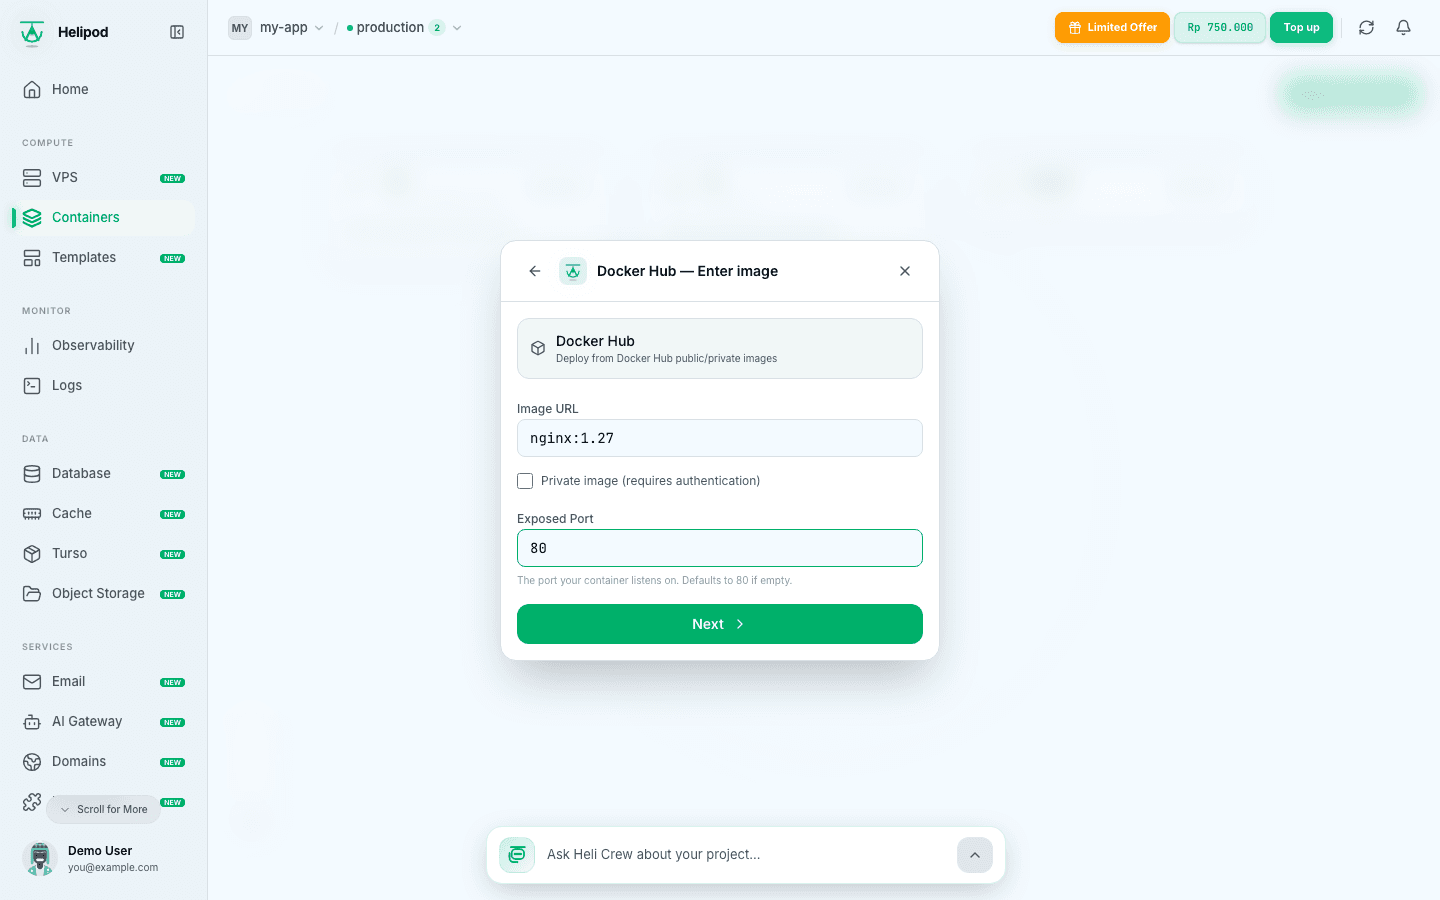
Click Next.
Configure resources
Choose CPU (0.125 to 4 vCPU, in steps of 0.125) and Memory (128 MB to 8 GB, in steps of 128 MB). The estimate shows the daily total (Total Harian) and a monthly estimate (Estimasi Bulanan).
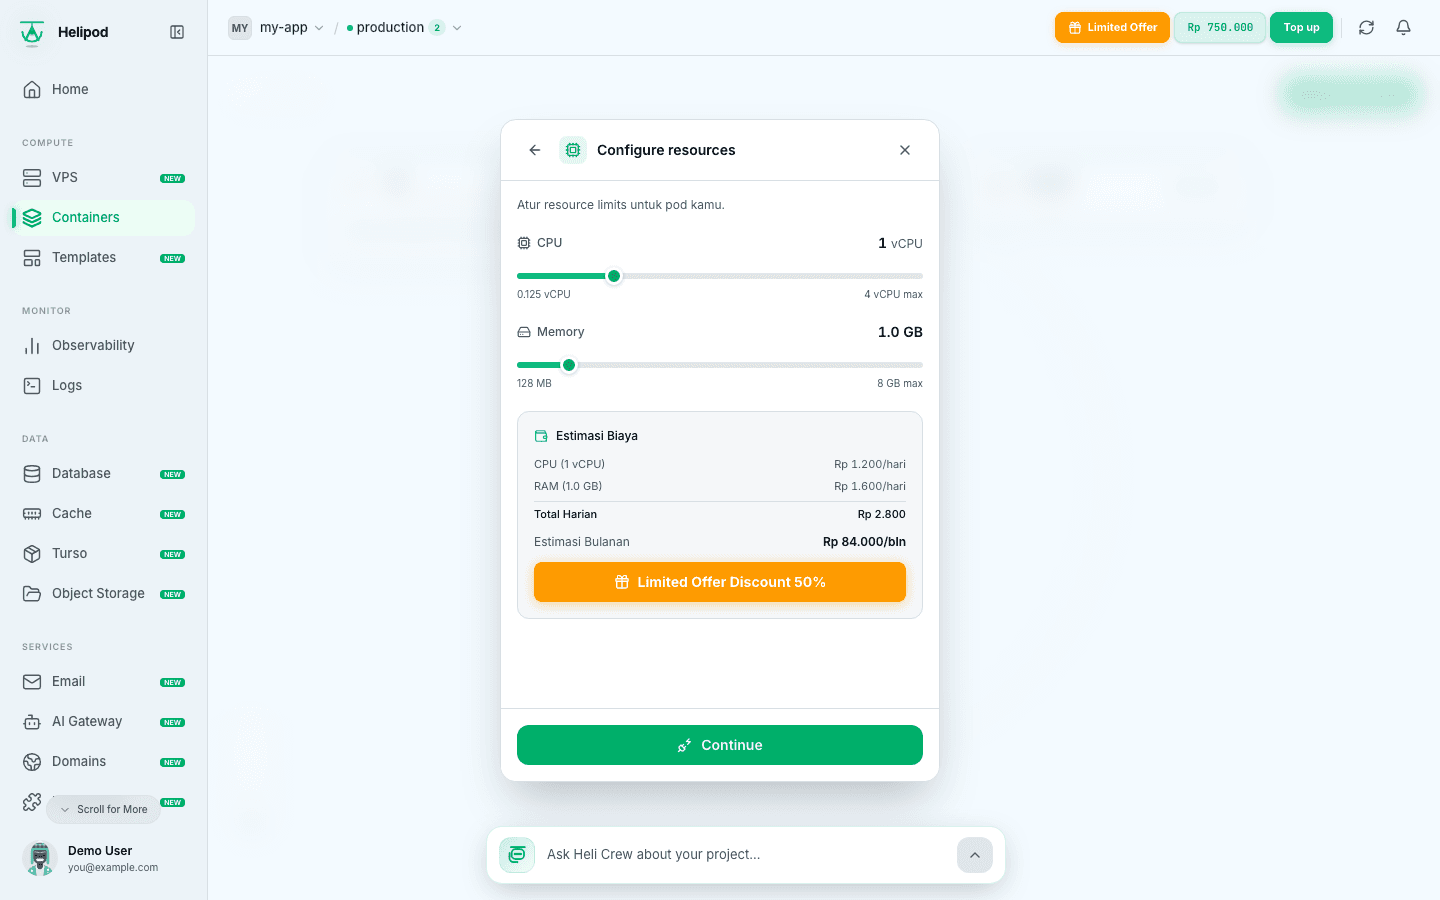
Click Continue. The service is created on the canvas and its panel opens.
Deploy
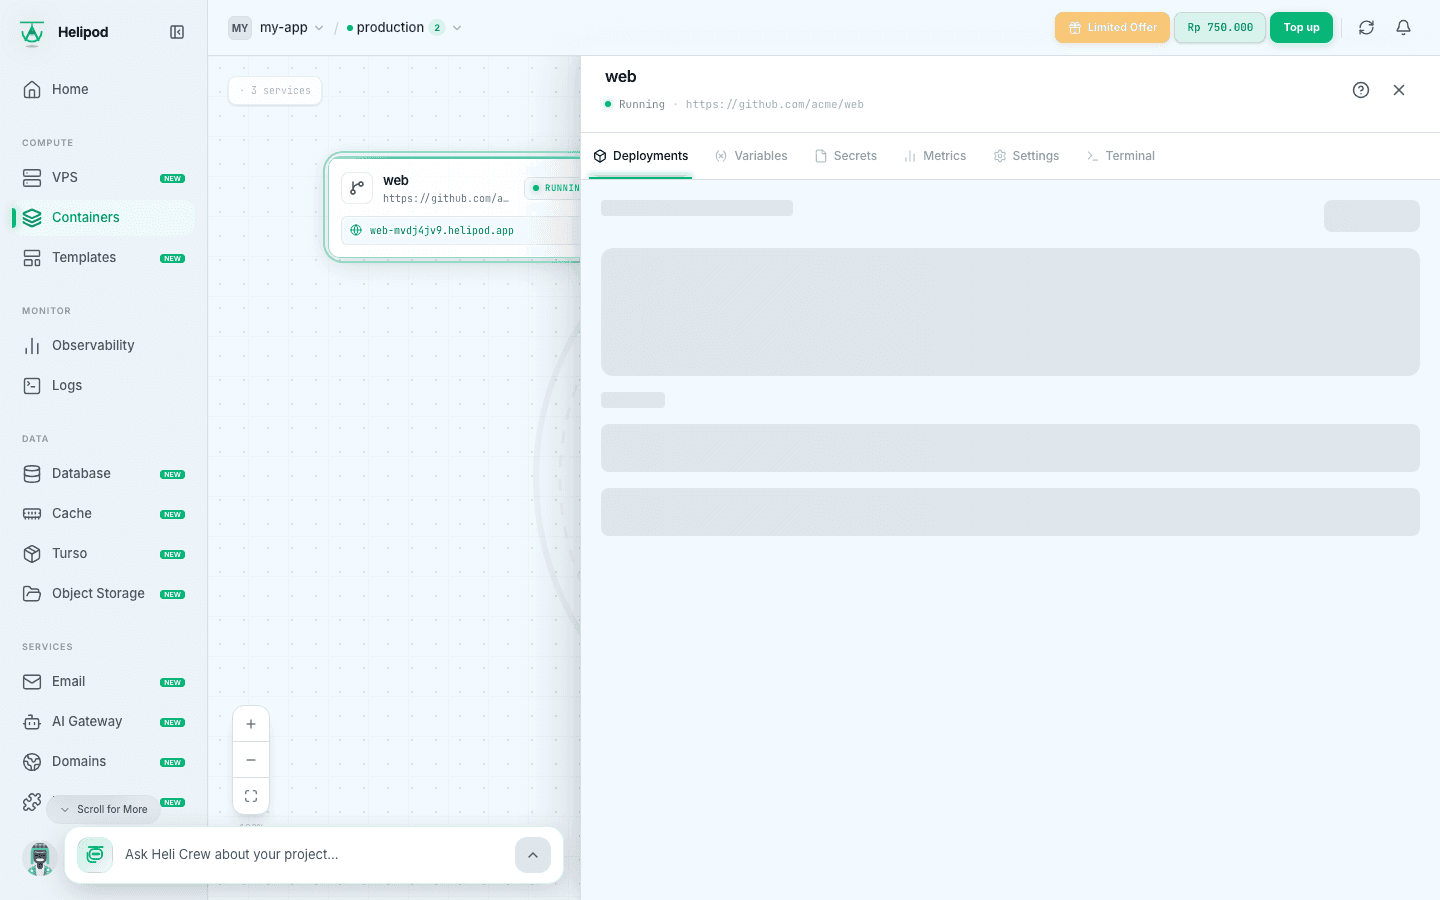
On the Deployments tab, click Deploy and confirm. Helipod pulls the image and starts it; there is no build step. The deployment moves from Queued to Deploying to Live. Click Live logs or Build logs to see what happens.
Make it public
A new image service is only reachable from your other services. To open it to the internet, click Make public accessible on the Deployments tab, keep Magic Domain selected, enter the App port (the same as Exposed Port) and click Create domain. You get a free *.helipod.app address with HTTPS. See Custom domains to use your own domain.
Billing
The service is billed daily for its CPU and memory from the first deploy. If your wallet holds less than one day of its cost and you have no bundle, Helipod asks you to top up before deploying.
See which image a service runs
Open the service and go to Settings. The Container Image section shows the registry and the image the service was created from. The Build & Run section lets you override the start command and set a health check, see Volumes and scaling.
Common problems
| What you see | What to do |
|---|---|
| The deploy fails right away with a pull error | Check the image name and tag. For a private image, check the username and token, and that the token can read packages. |
| The app is live but the domain does not answer | The App port of the domain must match the port the container listens on. Change it in Settings › Networking & Domains and redeploy. |
| The container keeps restarting | Open App logs on the Deployments tab. Often a required variable is missing; add it in Variables. |