Team and projects
Create projects and environments, share variables, invite team members, and transfer or delete a project.
This guide shows how to organise your work in projects and environments, share settings between services, and work with other people. Everything here is in Settings, which you open from the sidebar.
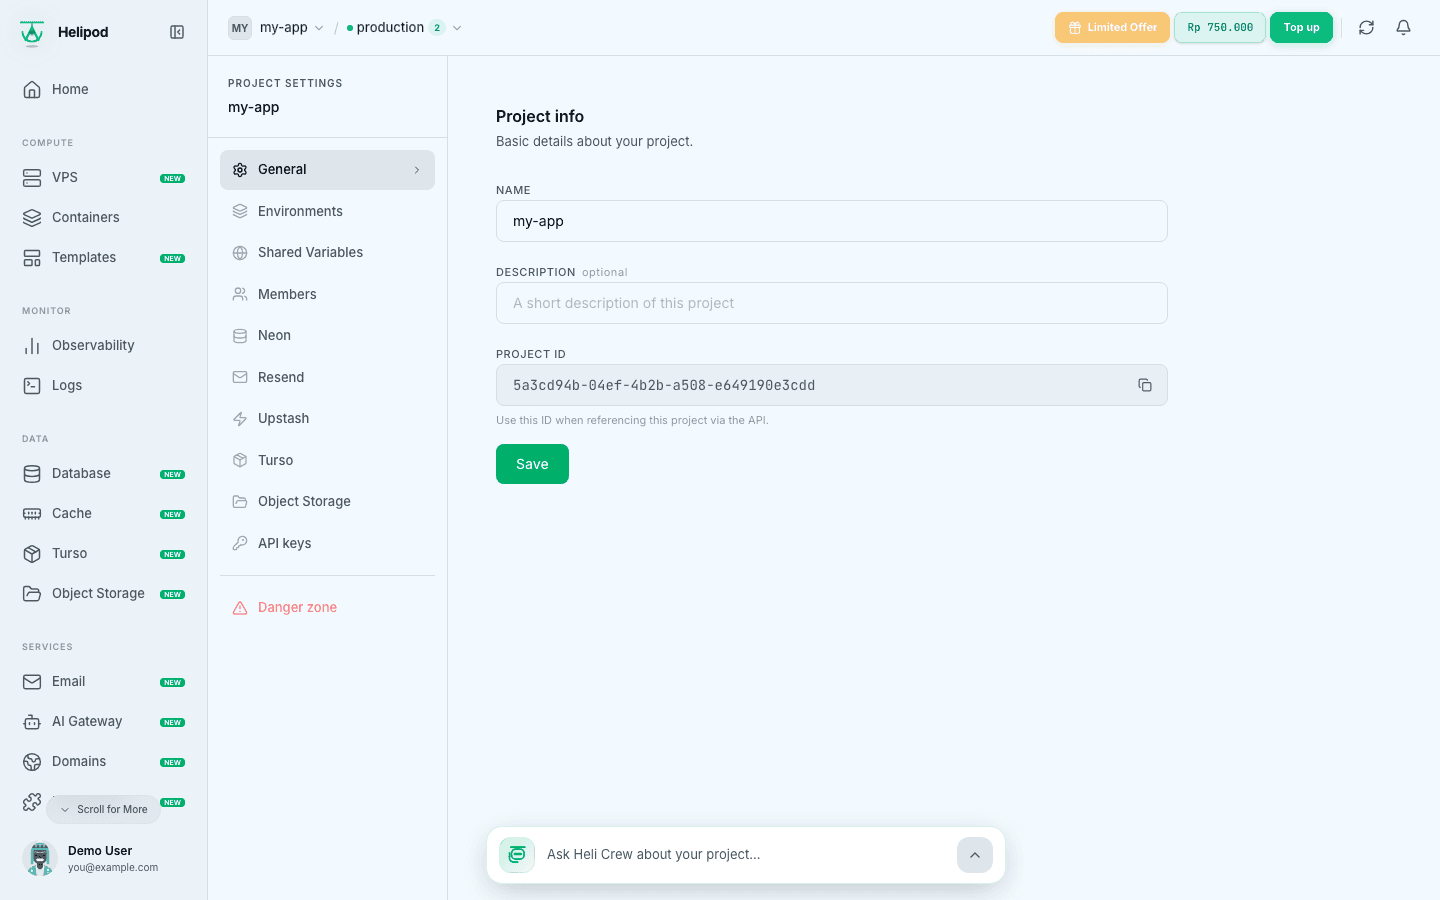
Create a project
Click the project name at the top left, type a name in Search or create… and click Create. The new project starts with one environment called Production. Use one project per app or per customer, so you can share it with a team or transfer it later without moving anything else.
Environments
An environment is a separate copy of your services inside a project (for example Production and staging). Changes in one environment do not affect the others.
Open Settings → Environments
You see every environment of the project. Click New Environment.
Name it
Type a name (for example staging). It needs at least 6 characters and can contain only letters and underscores.
Create it
Empty environment (start fresh with no services or variables) is selected. Click Create environment.
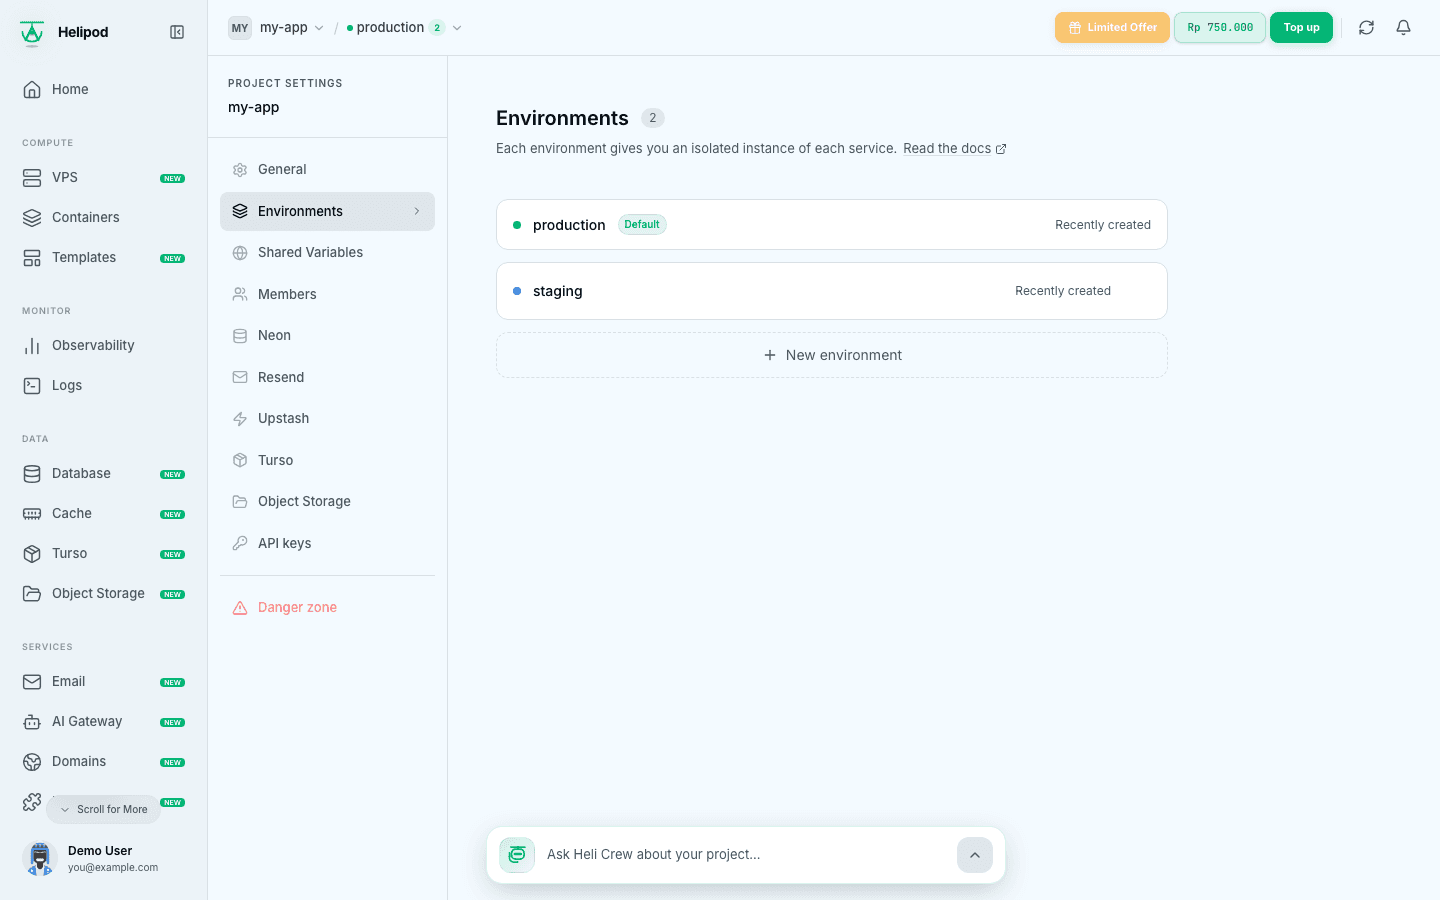
You can also create an environment from the environment switcher in the top bar. To delete an environment, click its delete icon. An environment that still has running services cannot be deleted: remove its services first.
New environments start empty. Copying an existing environment (with its services and variables) is not available in the dashboard yet.
Shared variables
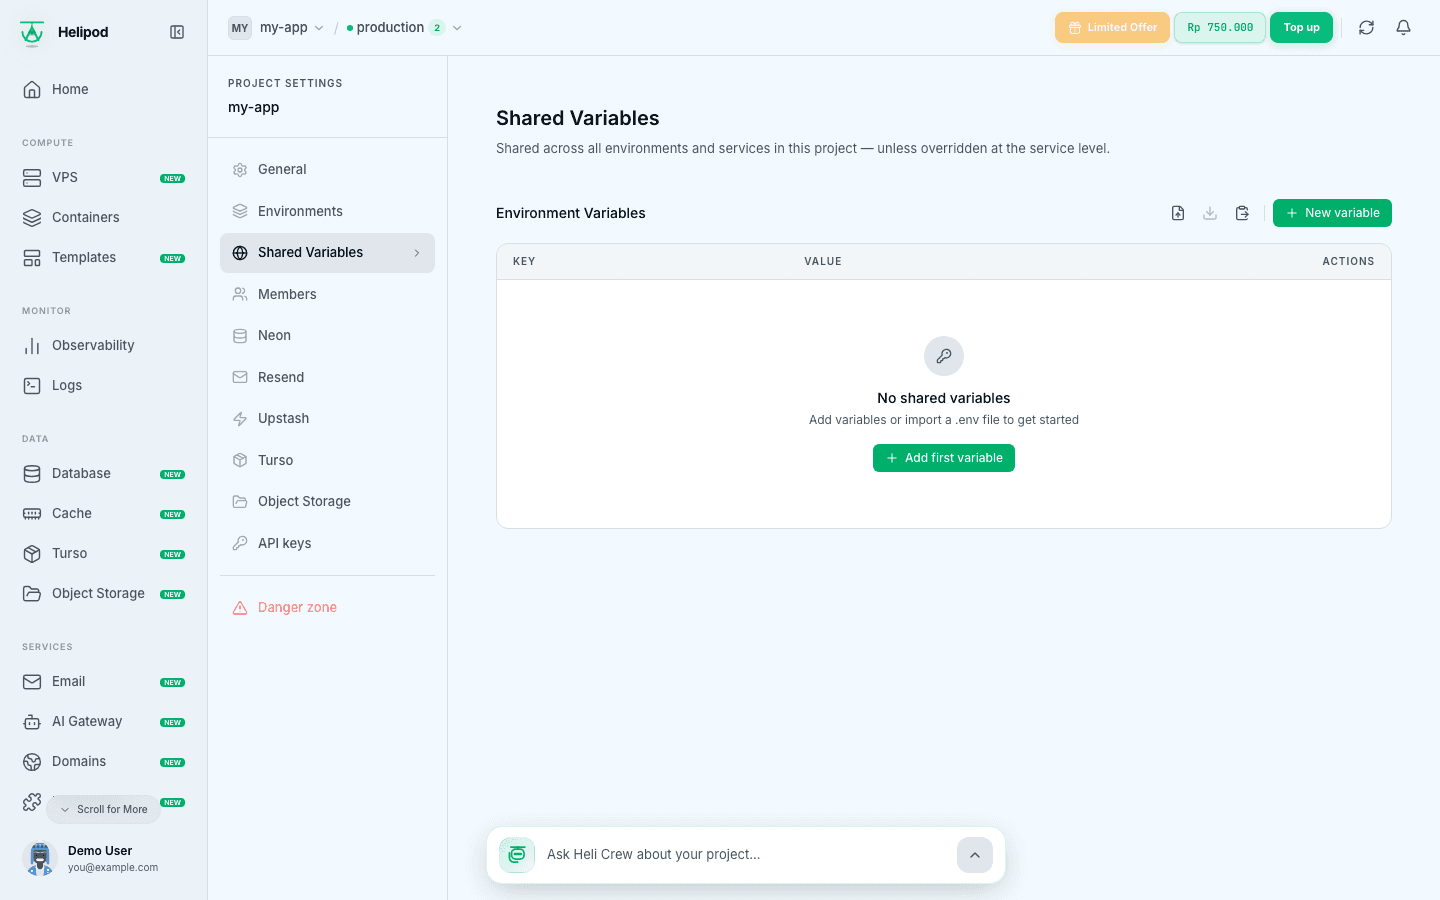
Settings → Shared Variables holds values that every service and environment in the project can use, such as an API key for a third party. A service can still override a shared value with its own variable.
- Add a variable with a Key and Value. New variables are secret by default: the eye button switches between secret and standard. A secret value can never be shown again after saving; a standard value can be revealed and copied later.
- Use the import button to load a
.envfile, or Bulk paste to pasteKEY=VALUElines. Imported variables are saved as standard (not secret), and keys that already exist are skipped. - Use Export .env to download the variables you can read.
All values are encrypted at rest and injected when the service starts.
Members
Invite people to work on a project with you. Members only see the projects they are invited to.
Open Settings → Members
Under Invite member, type the person's email address. They must already have a Helipod account (they sign in with Google once to create one).
Send the invite
Click Send invite, check the cost in Send invitation? and confirm. The person gets an email and joins the project when they accept. The invitation shows as Pending until then and expires after 7 days.
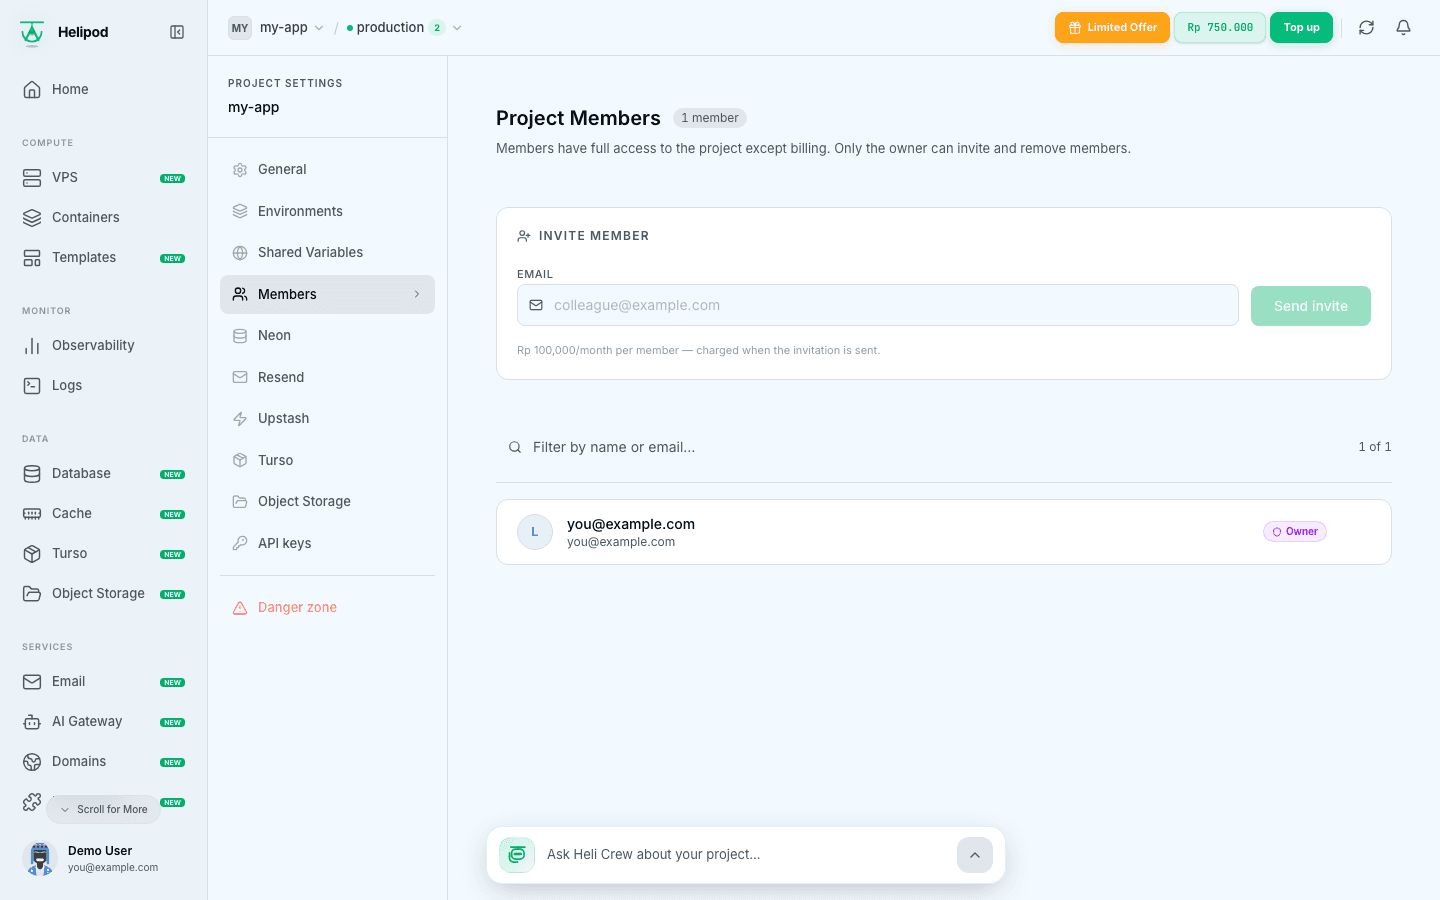
Rp 100.000 per member per month
Each member costs Rp 100.000 per month, charged from the project owner's wallet when the invitation is sent and again every 30 days. If the owner's wallet cannot cover the renewal, members are removed from the project.
To cancel an invitation that was not accepted yet, use Revoke invite. To take access away from a member, use Remove member. Only the project owner can remove members.
Transfer a project
You can hand a whole project to another Helipod user, for example when you finish work for a client. Danger zone is shown only to the project owner.
Open Settings → Danger zone
Click Transfer Project.
Enter the new owner
Type the Target Email (the person must have a Helipod account) and type the project name to confirm. Then click Transfer Project.
Confirm by email
Helipod sends you an email: confirm the transfer there. The new owner then has to accept it. If nothing is confirmed within 7 days, the transfer expires.
Transfers cost Rp 200.000
A transfer costs Rp 200.000. You lose access to the project once the new owner accepts. If they decline or do not respond within 7 days, you get a 50% refund.
Delete a project
In Settings → Danger zone, click Delete Project, type the project name and confirm. This removes all environments and services, all deployments and logs, and all settings of the project. It cannot be undone.