Deploy from GitHub
Connect a GitHub or GitLab repository, choose its resources and deploy it as a container.
Helipod can build and run your app straight from a Git repository. You connect GitHub (or GitLab) once, pick a repository and a branch, choose how much CPU and memory the service gets, and deploy. Helipod builds the image for you, so you don't need a Dockerfile.
You need money in your wallet (or a bundle) before the first deploy, see Getting started.
Open Add Service
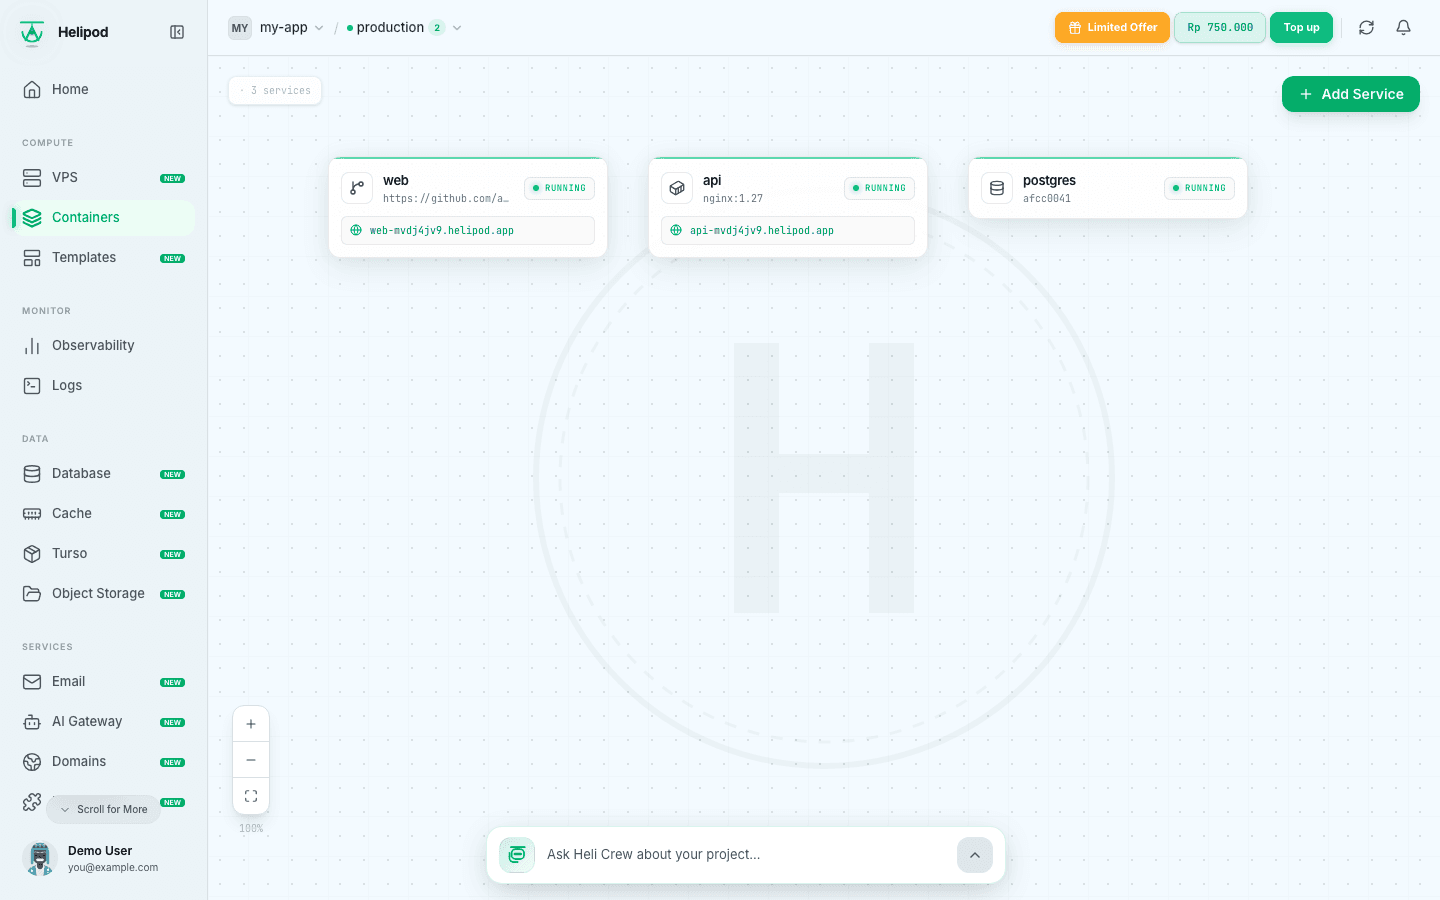
In the dashboard, open your project and go to Containers. This is the canvas where every service of the current environment is shown as a card. Click Add Service at the top right. On an empty canvas you can also click Deploy from Code.
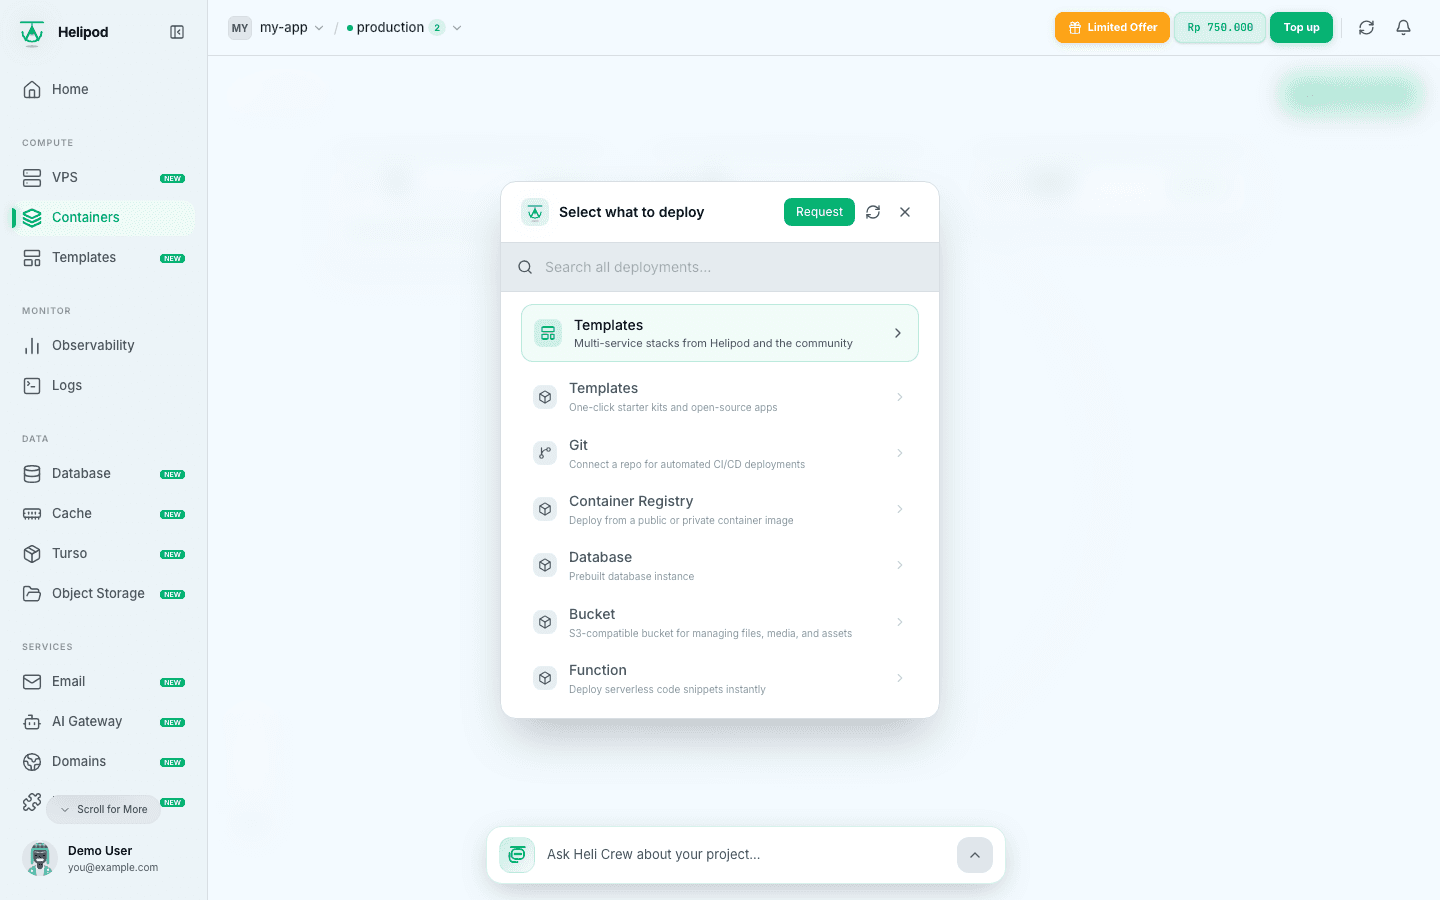
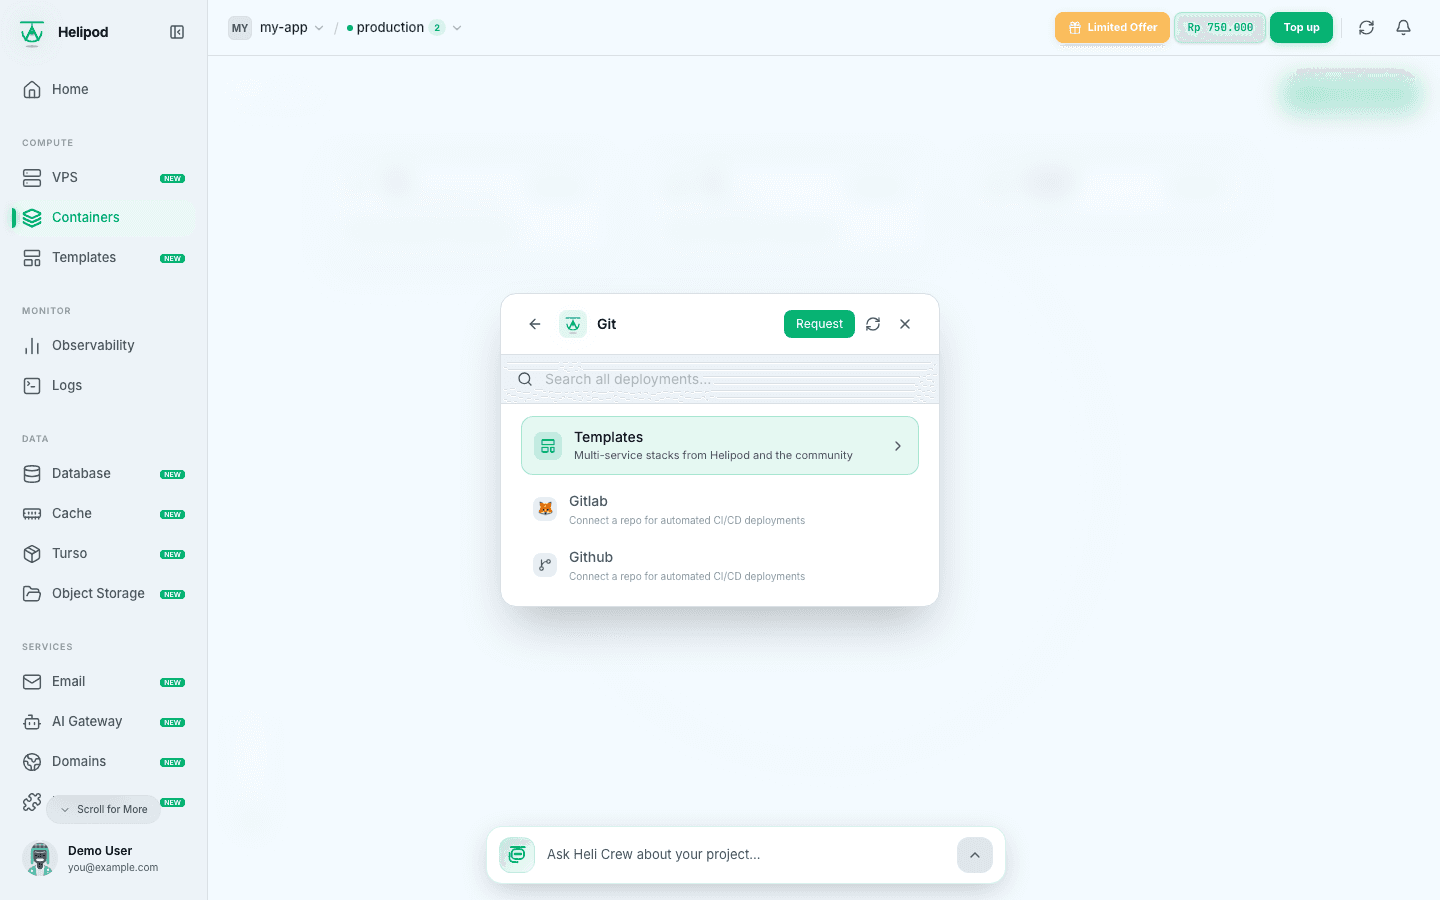
Choose Git, then GitHub
Click Git, then Github. You can also type in Search all deployments… to find it.
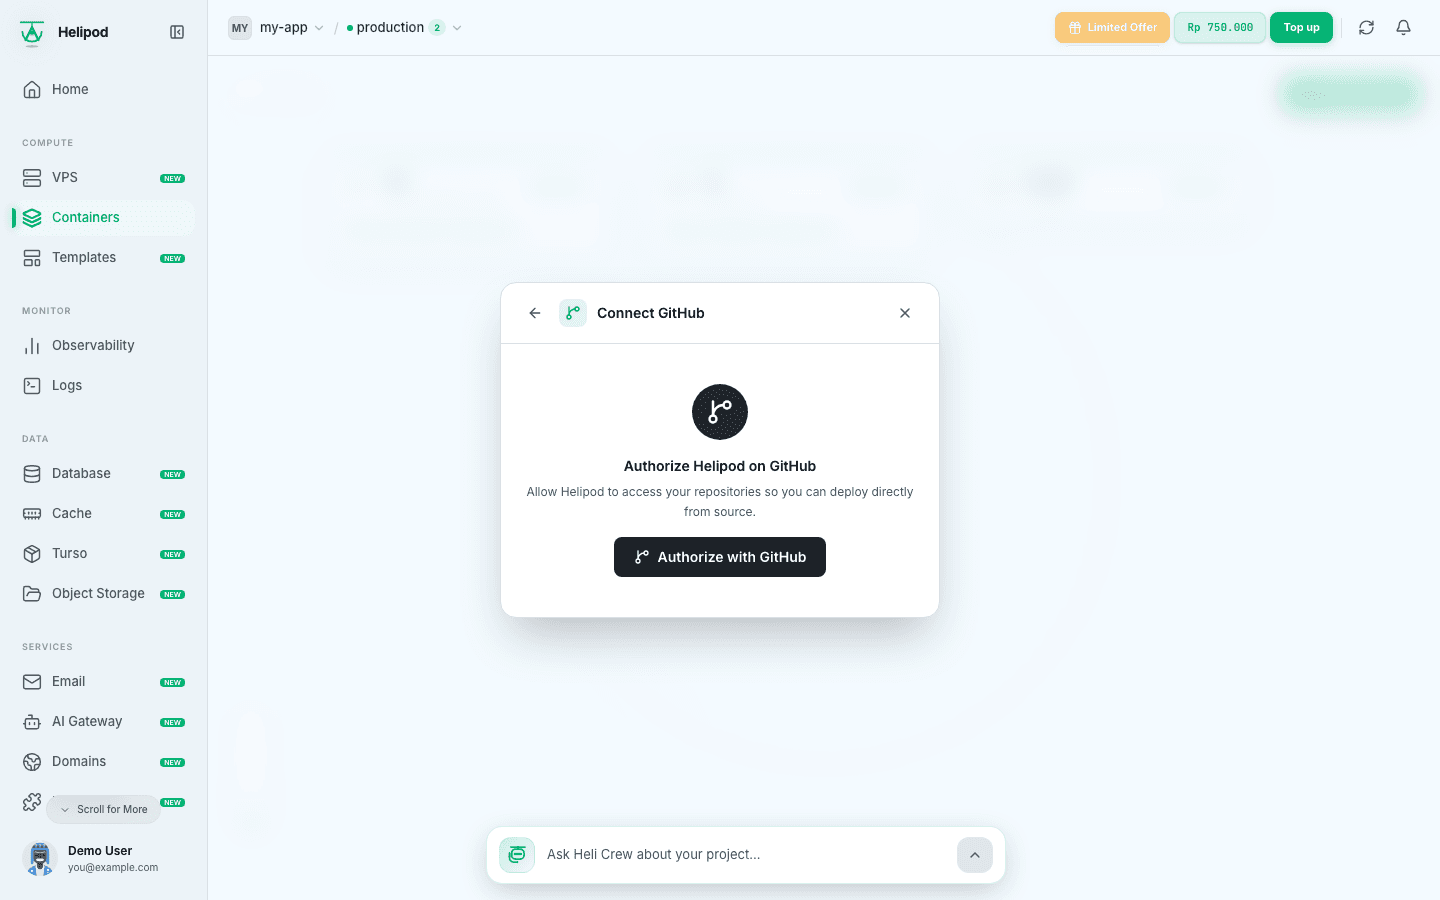
Authorize Helipod on GitHub
The first time, you see Authorize Helipod on GitHub. Click Authorize with GitHub. A GitHub window opens where you approve Helipod. Close it when it is done and the dialog continues.
Install the Helipod GitHub App
Next you see Install the Helipod GitHub App. Click Install GitHub App, choose your personal account or an organization, and select which repositories Helipod may read (all, or only the ones you pick). When the GitHub window closes, the list refreshes. If you installed the app earlier, click Already installed? Refresh.
Select the account and repository
Under Select account, click the account or organization that holds the repository. Use Add another account or organization to install the app somewhere else.
Then pick the repository. Type in Search repositories… to filter a long list.
Choose the branch and root directory
- Deploy branch: the branch Helipod builds, for example
main. - Root directory (optional): for a monorepo, the folder of the app to deploy, for example
apps/api. Leave it empty to build the repository root. The service is then named after that folder.
Click Next.
Configure resources
Set the size of the service:
- CPU: from 0.125 vCPU to 4 vCPU, in steps of 0.125 vCPU.
- Memory: from 128 MB to 8 GB, in steps of 128 MB.
The cost estimate below the sliders (Estimasi Biaya) shows the daily price of each part, the daily total (Total Harian) and a monthly estimate (Estimasi Bulanan). You can change the size later in Scaling & Resources.
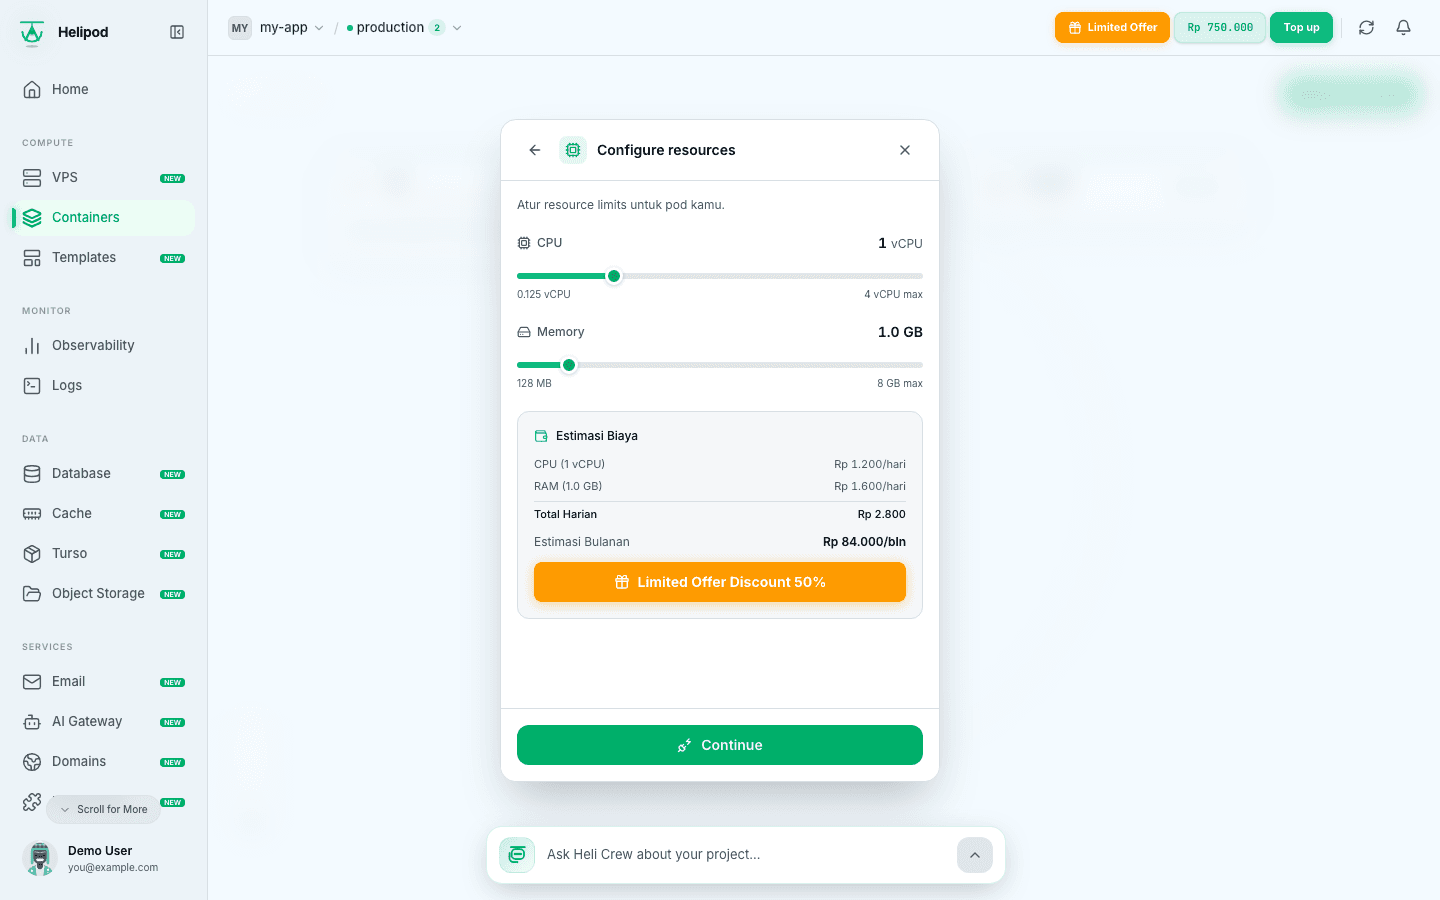
Click Continue. The service appears on the canvas and its panel opens, with the status Need Configuration. Nothing is built or billed yet.
Deploy and watch the build
In the service panel, the Deployments tab is open. Add any variables the app needs first in the Variables tab (see Variables and secrets), then click Deploy and confirm with Deploy.
The deployment shows as Queued, then Deploying. Click Live logs to follow the build. When it reaches Live, the app is running. A failed build shows Failed; open Build logs to see why.
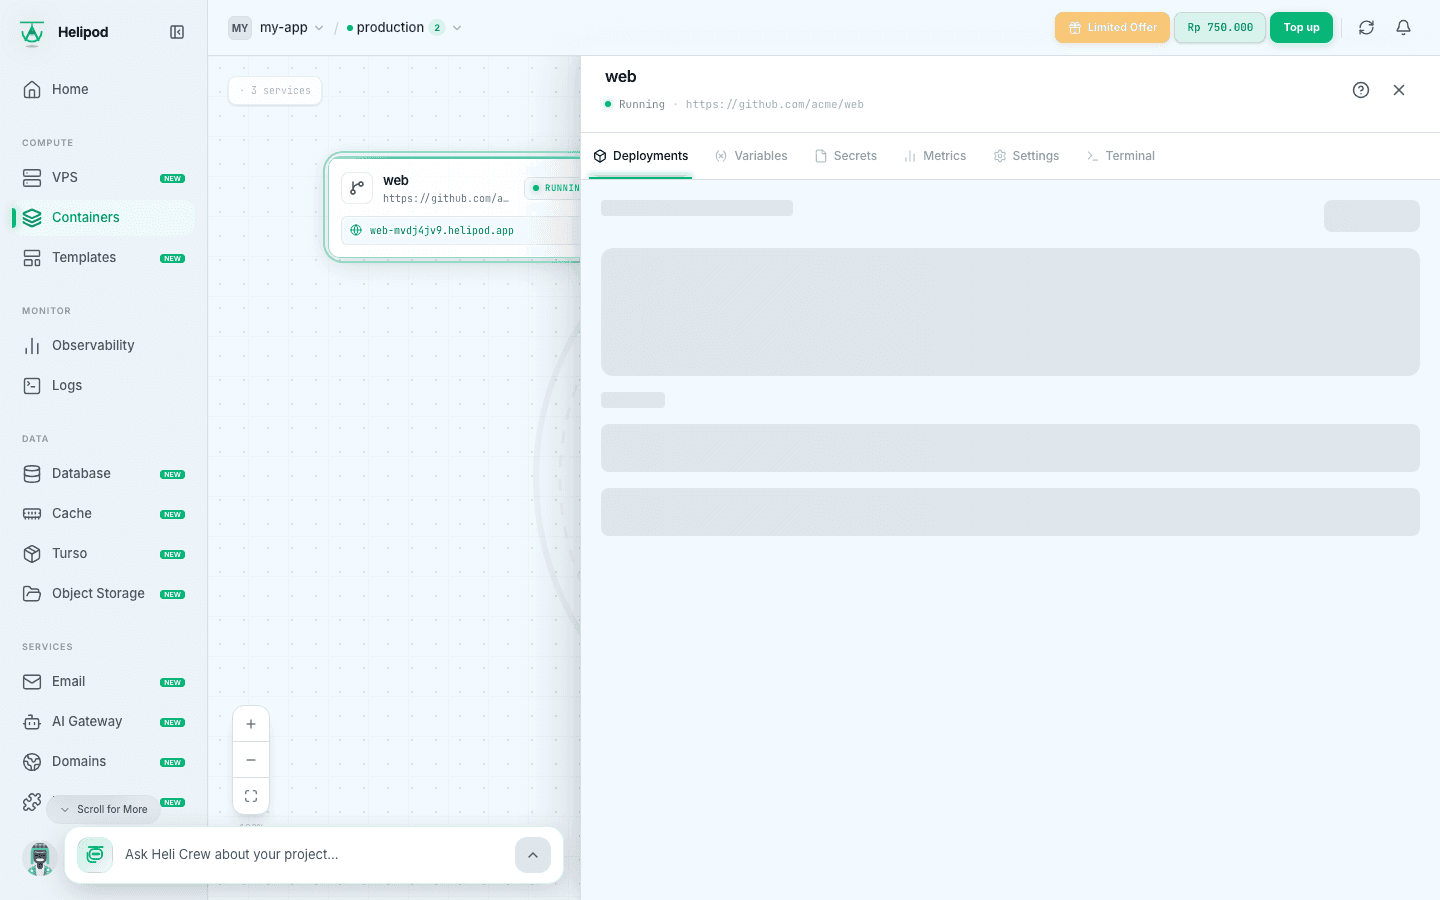
To reach the app from the internet, give it a domain: see Custom domains.
Billing starts with the first deploy
A service is billed daily for the CPU and memory you chose. If your wallet holds less than one day of the service's cost and you have no bundle, Deploy asks you to top up first.
Deploy from GitLab
The flow is the same. In Add Service, click Git, then Gitlab, and click Authorize with GitLab. GitLab has no app to install: after you approve Helipod, you go straight to the repository list, then branch, root directory and resources.
A minimal Node.js app
Your app must listen on the port that Helipod routes to. Helipod sets the PORT variable to the service's app port, so read it with a fallback:
{
  "name": "hello-helipod",
  "version": "1.0.0",
  "scripts": {
    "start": "node server.js"
  }
}const http = require("node:http");
const port = process.env.PORT || 3000;
http
.createServer((req, res) => {
res.writeHead(200, { "Content-Type": "text/plain" });
res.end("Hello from Helipod\n");
})
.listen(port, "0.0.0.0", () => console.log(`Listening on ${port}`));Listen on 0.0.0.0, not localhost, so traffic from outside the container reaches the app. If you later make the service public, set the App port to the same port the app listens on (here 3000).
How Helipod builds your app
Every deploy of a Git service starts with a build:
- Your own Dockerfile: if the folder being built (the repository root, or the root directory you set) contains a
Dockerfile, Helipod builds it as it is. - Helipack: without a Dockerfile, Helipod's builder detects the language, framework, package manager, build and start commands and port, writes a Dockerfile and builds it.
- helipack.json: add this file to the repository to override what Helipack detects, for example the port (
run.port), the start command or extra system packages.
Your service variables are available during the build but are never written into the image. See Builds and Helipack for every option and for fixes to common build errors.
Next steps
Custom domains
Give the service a free *.helipod.app address or your own domain.
Variables and secrets
Add environment variables, .env files and secret files.
Logs and metrics
Follow builds, read app logs and watch CPU and memory.
Builds and Helipack
How builds work and how to tune them with helipack.json.